SUNDRIVER Series support the last D3-2(nothing) and the last 4.3 firmware console!
APP V015 history:
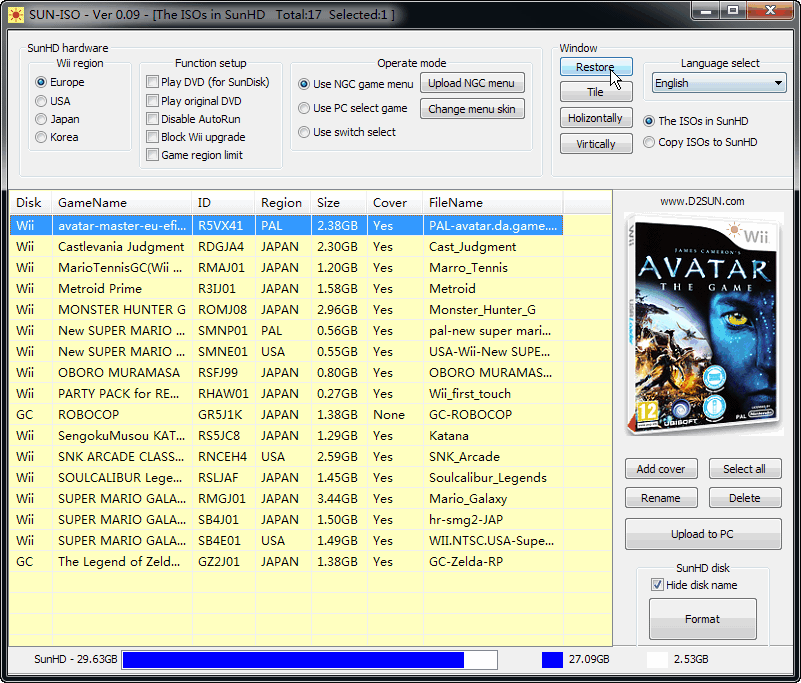
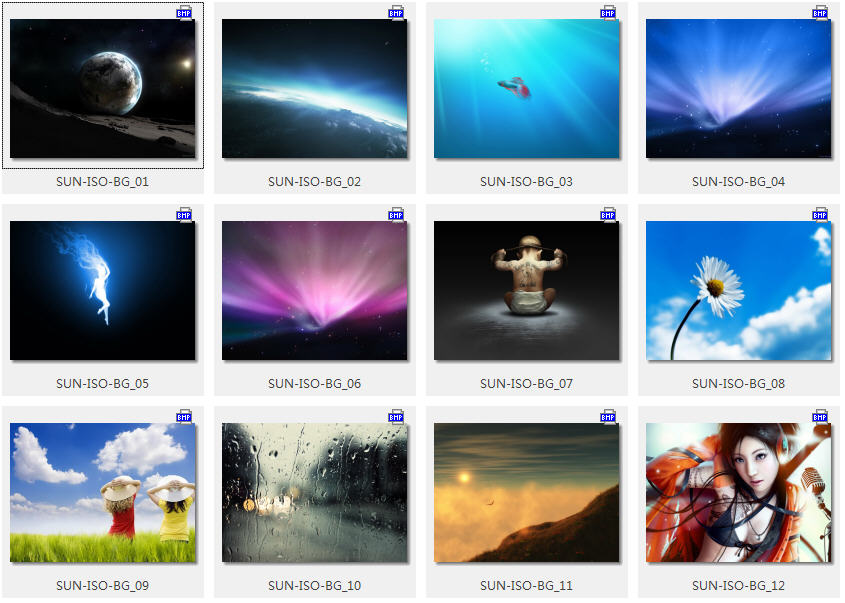
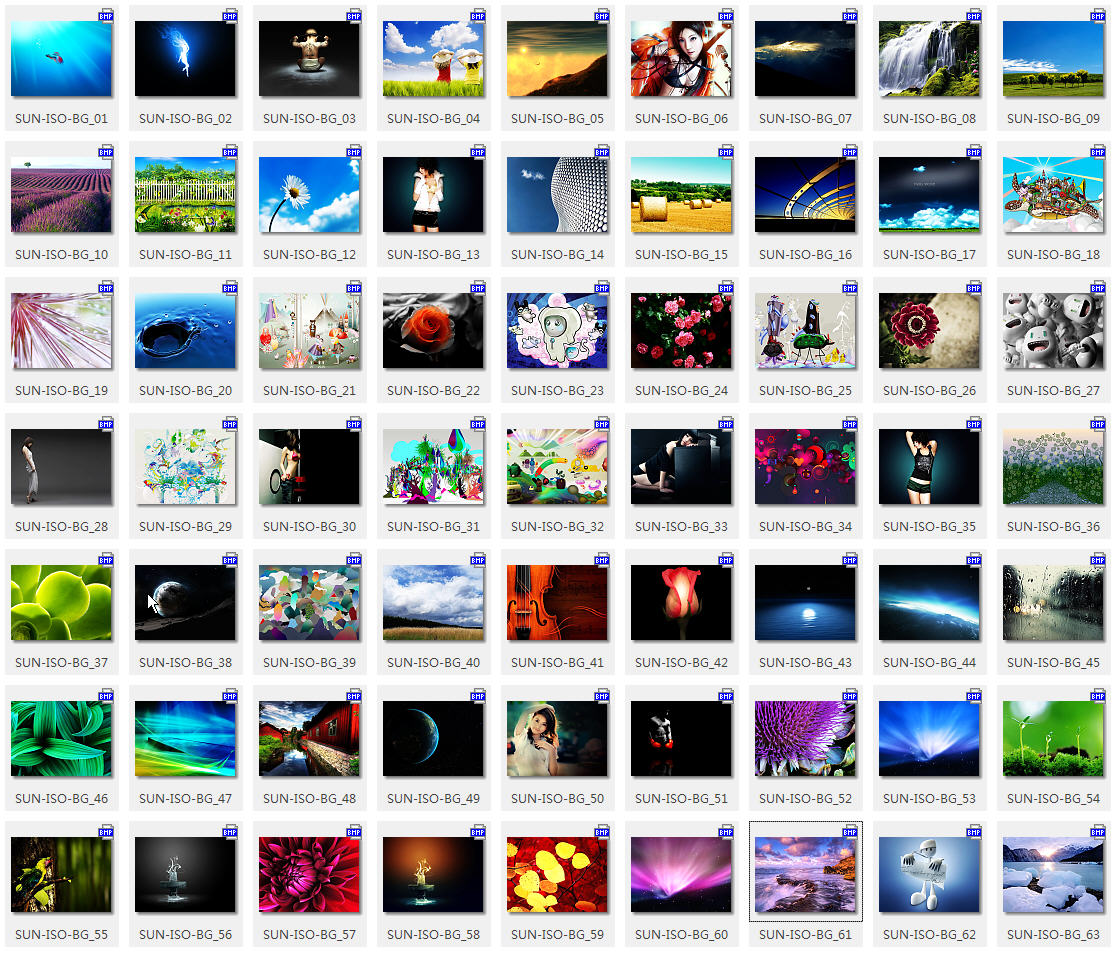
#1. Add the ability of show the same region games only . #2. Add the ability of auto detect the screen size, it can help the note book user. #3. Fix one online game playing issue when use the NGC menu to start the game , just like Mario Cart. #4. Supports more languages. #5. Add more 562 new cover image files, total cover IMG files up to 4143 now. 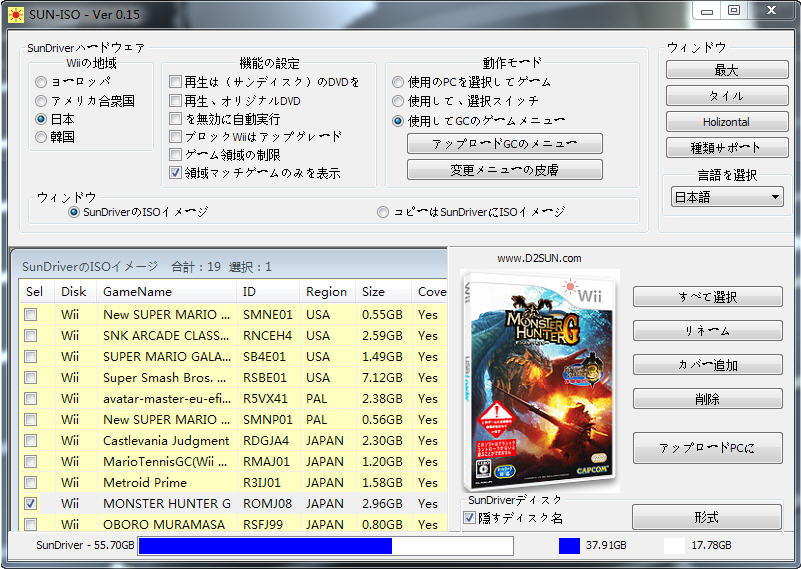 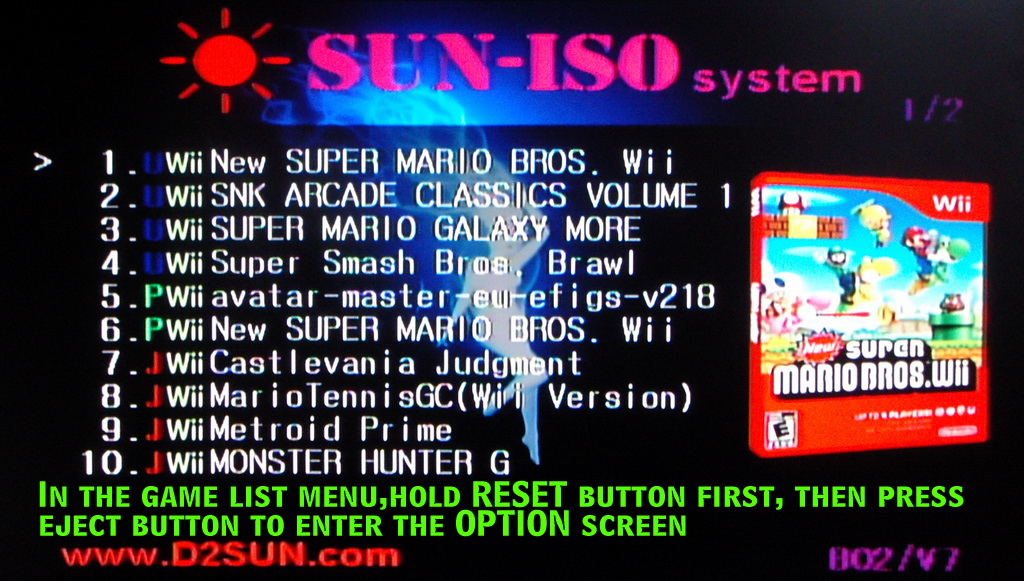 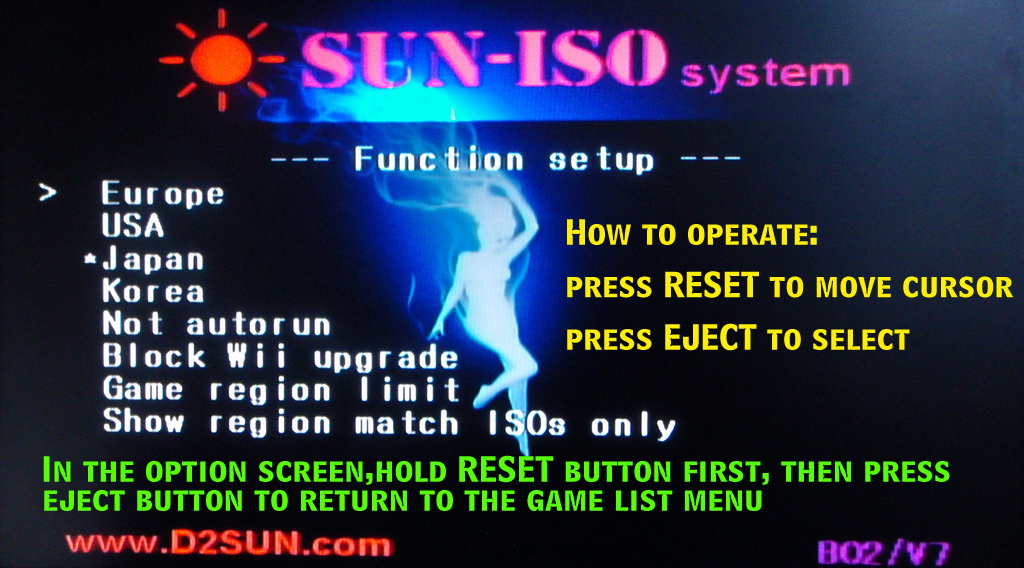 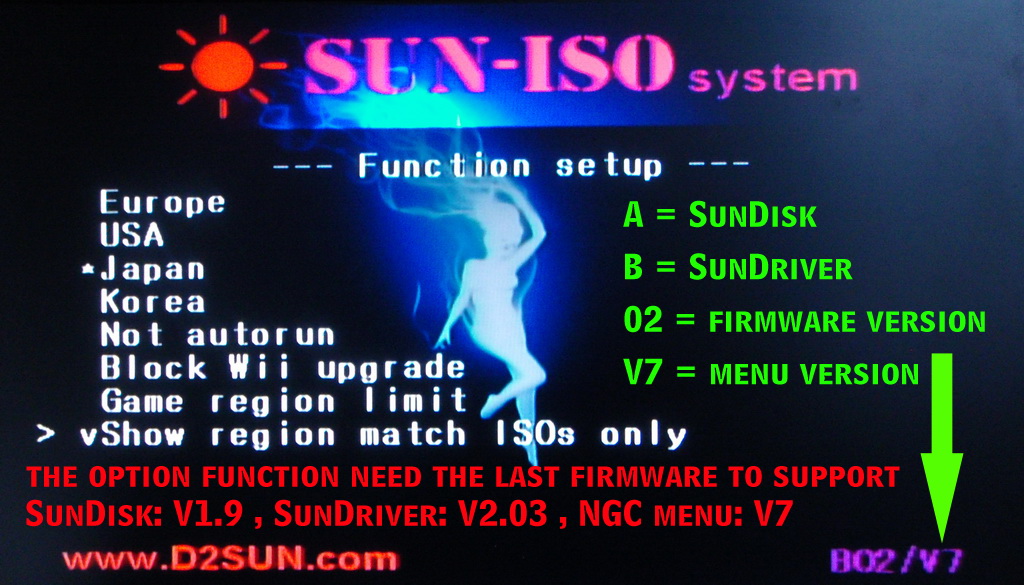 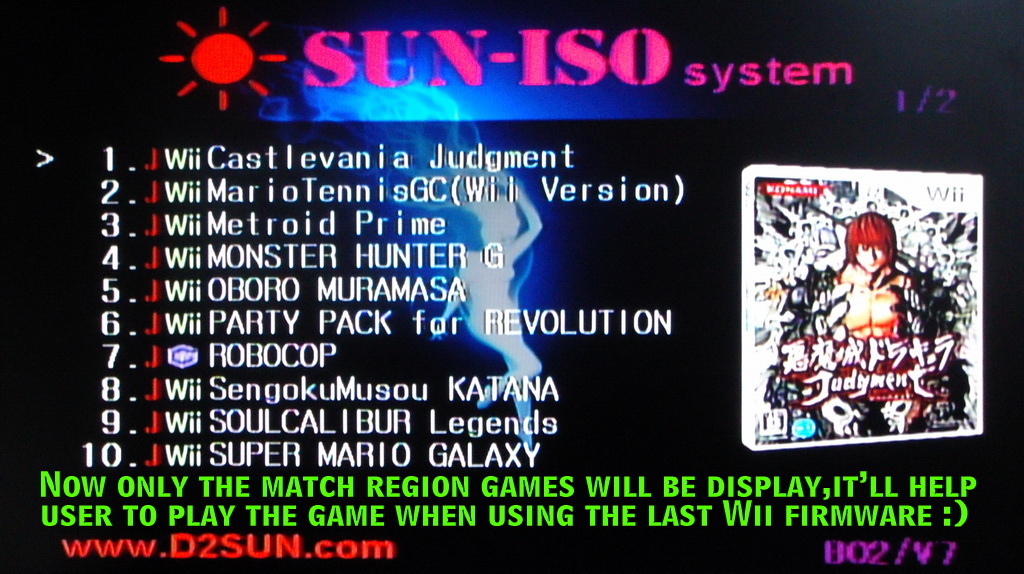  
Video download:
|

|
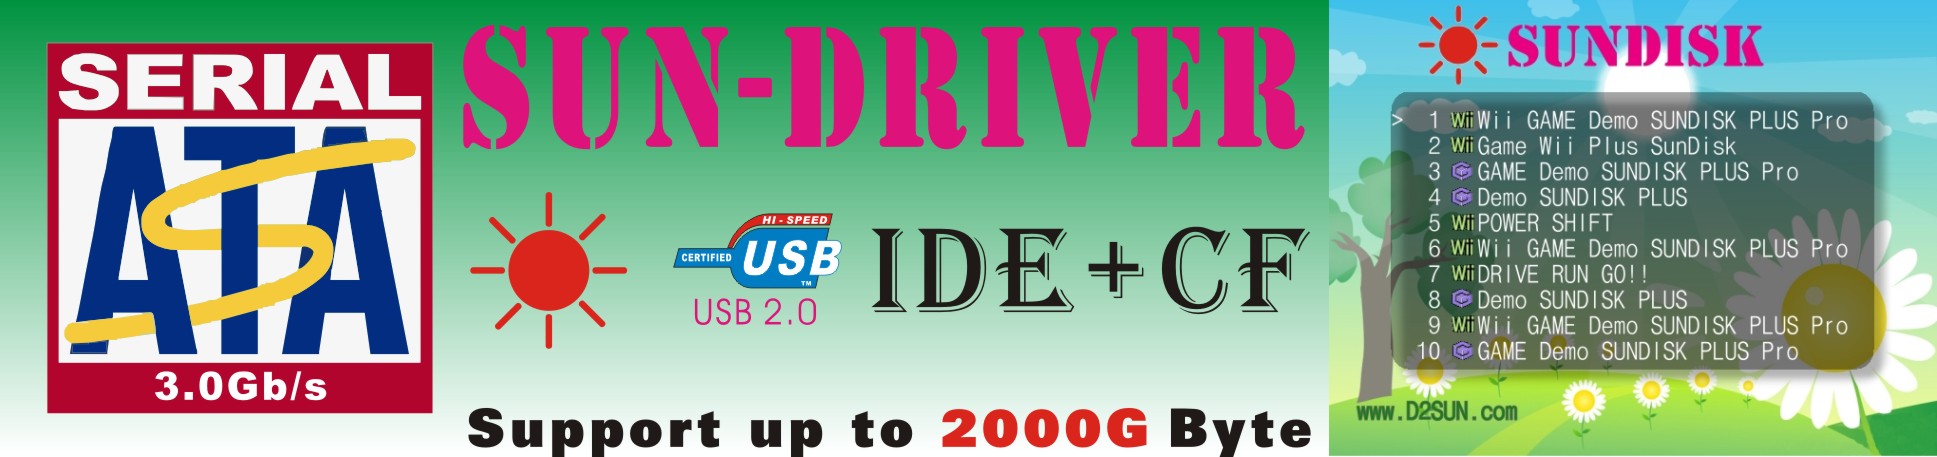
SunDriver IDE+CF version 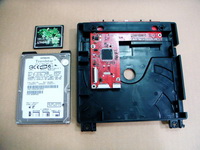 When work with 2.5' IDE HD 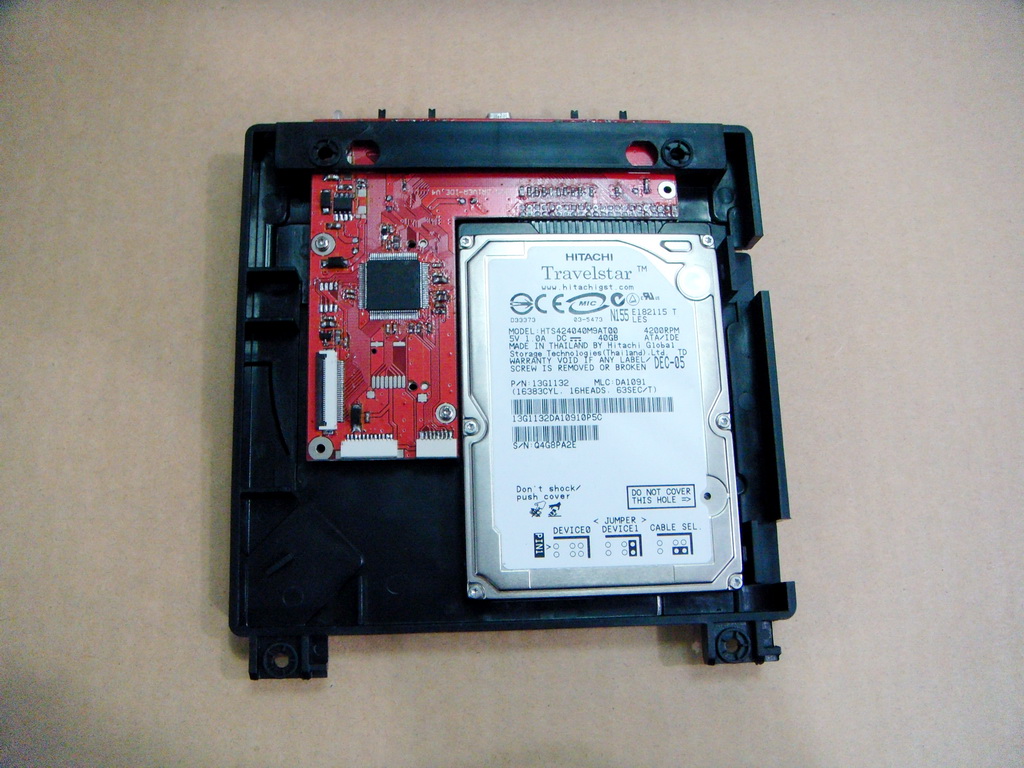 When work with CF card 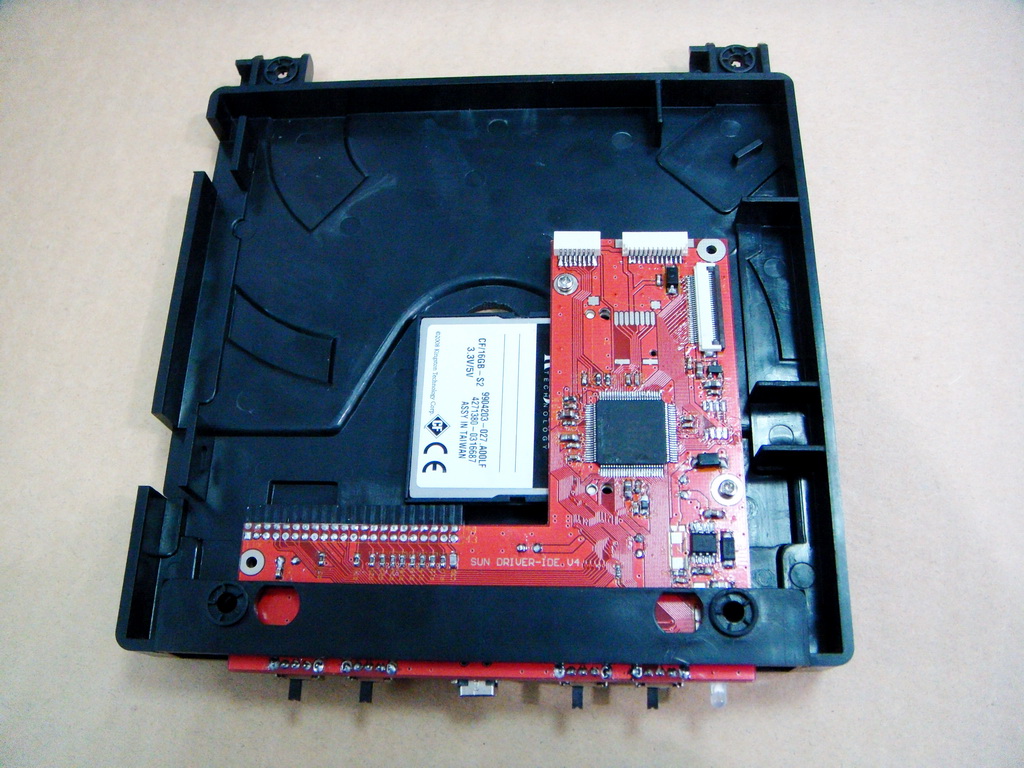 |
The SUNDRIVER 2.5' ATA HD+CF 2in1 retail version, support ALL 2.5' IDE HD and CF card (CF must be 8GB or bigger) 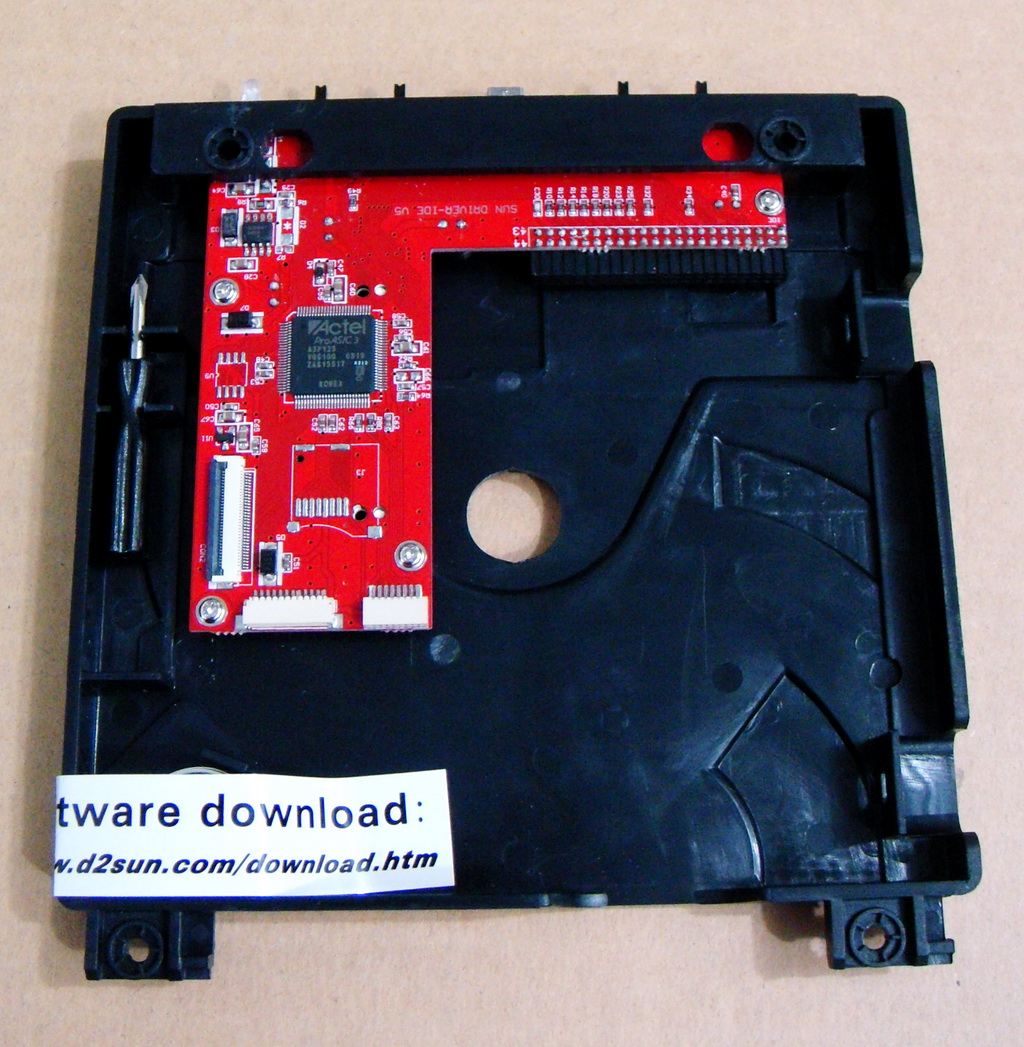  The SunDriver IDE+CF version retail packing 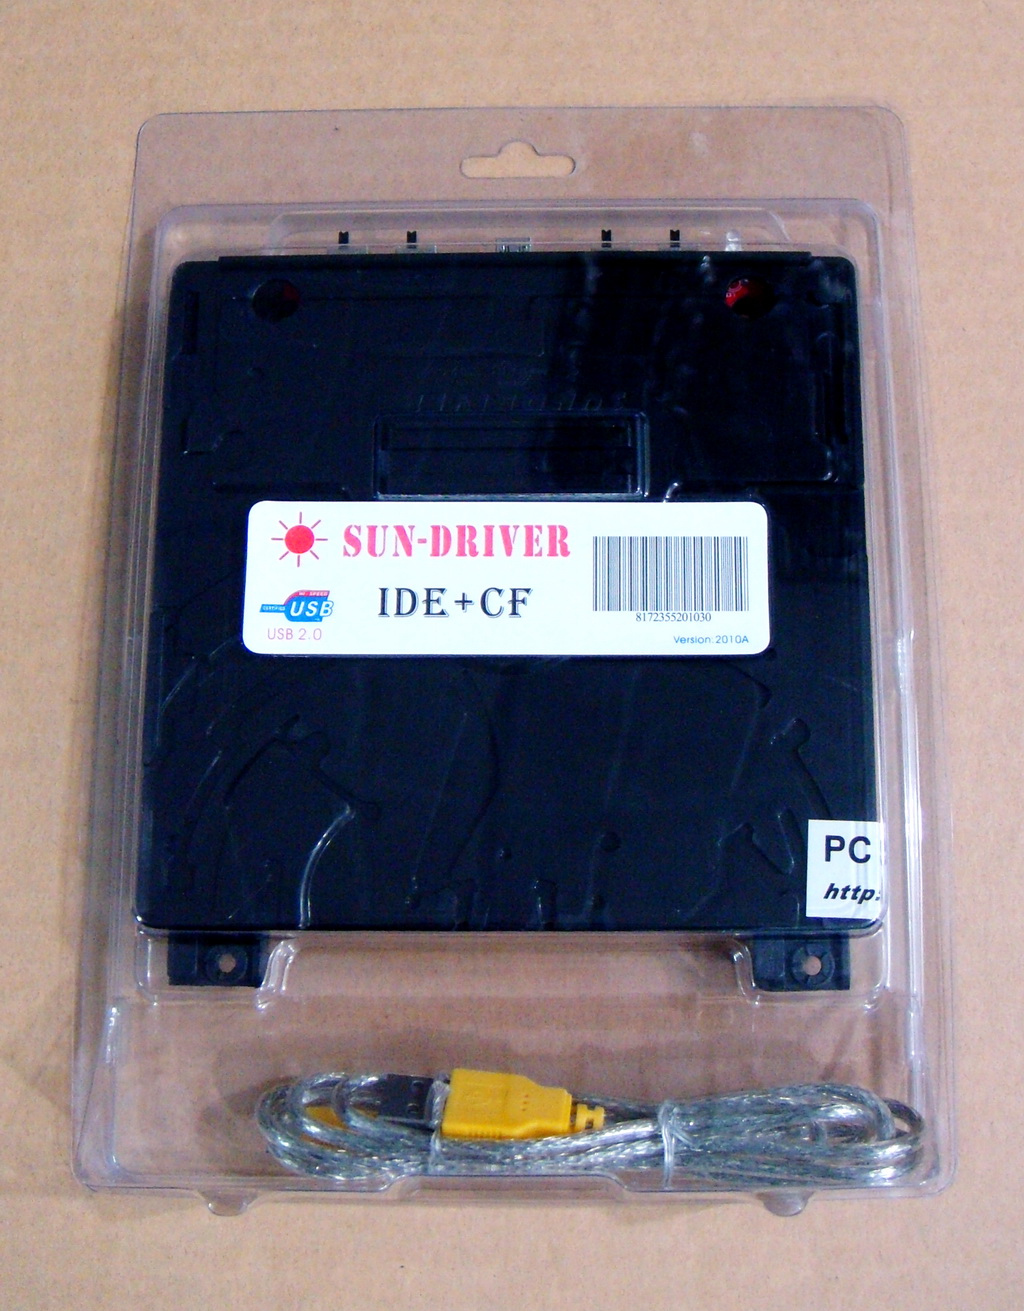 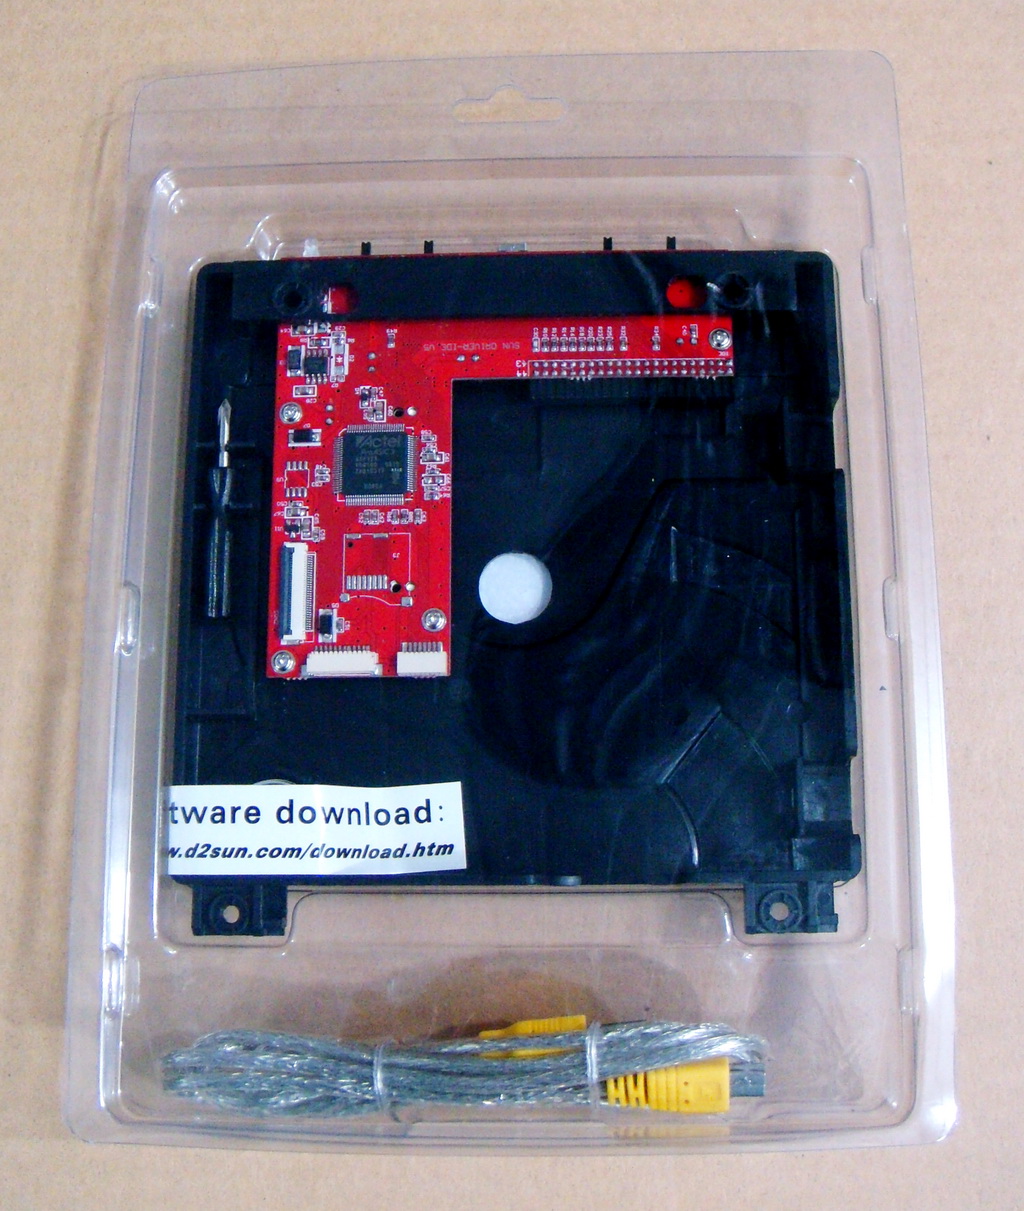 The dealer can bundle the 2.5' IDE HD to sell together 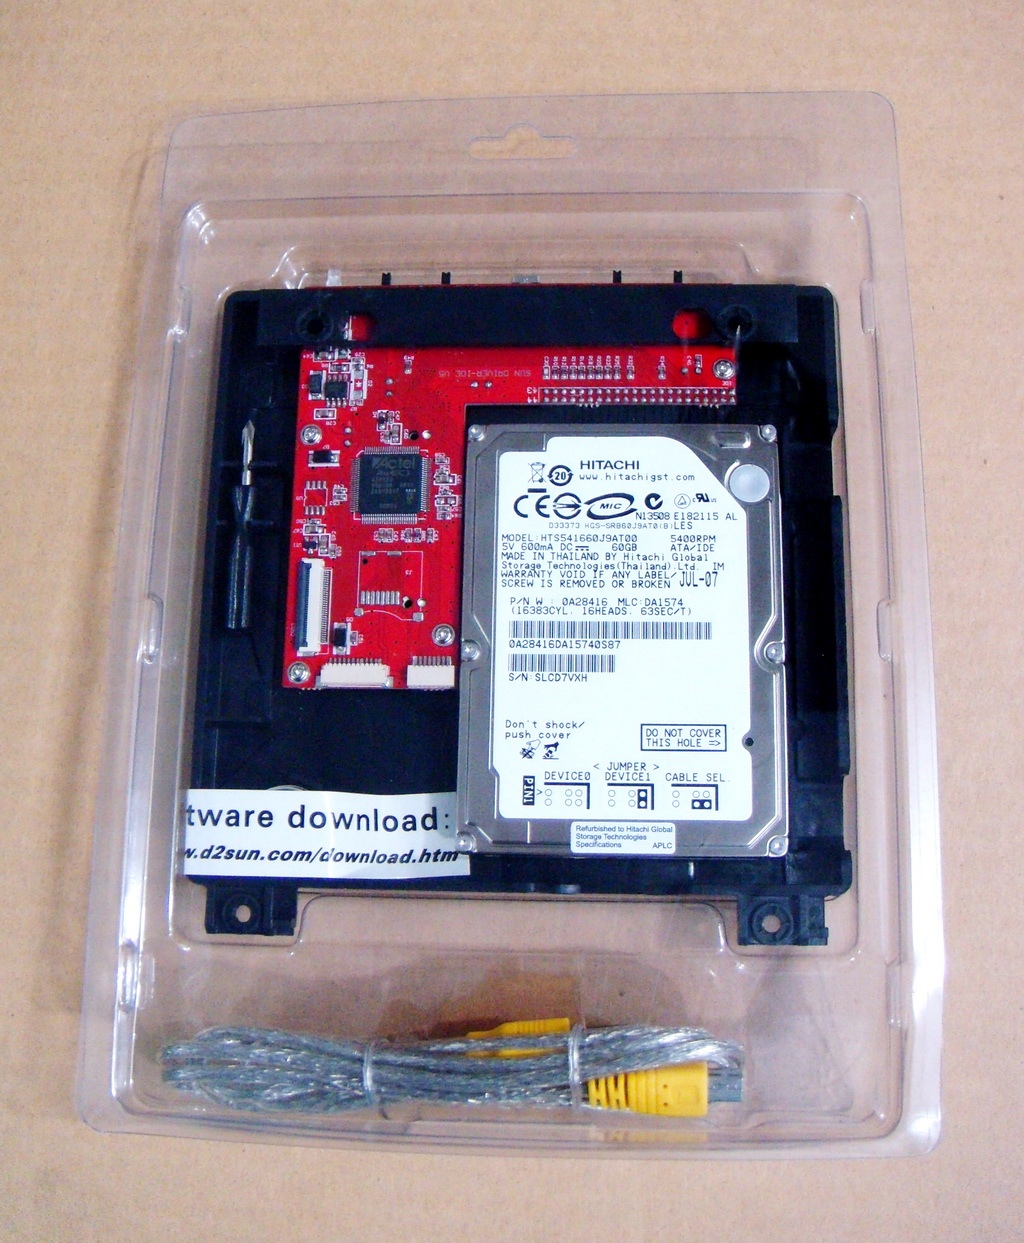 |
|
SunDriver SATA version 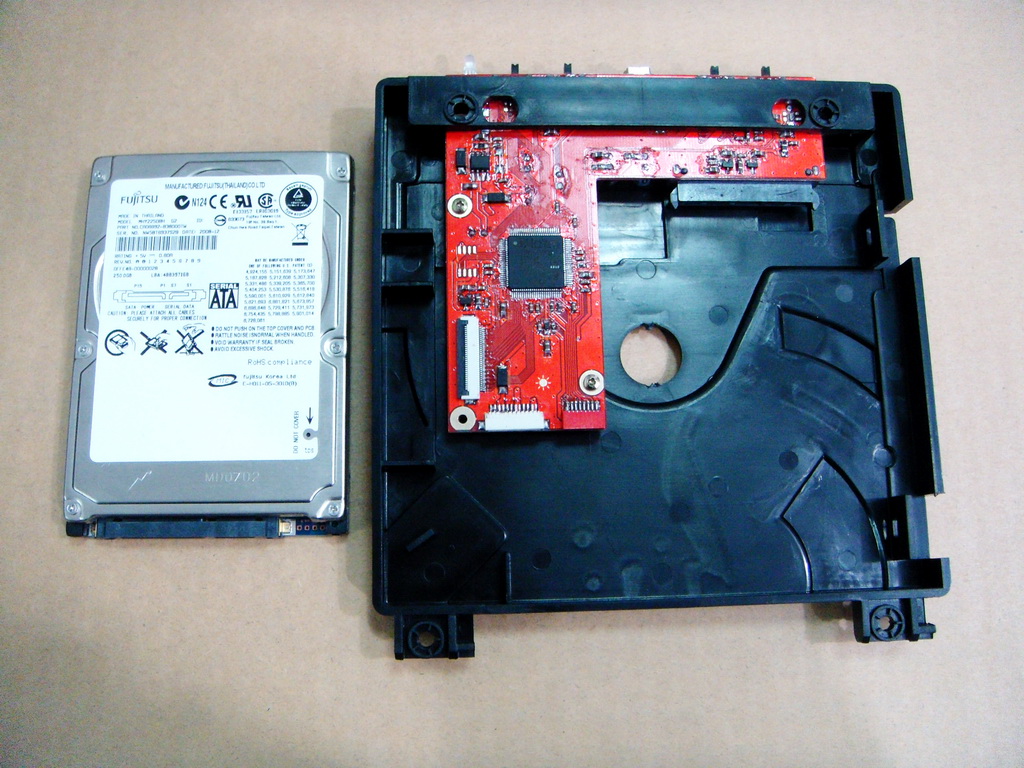 When work with 2.5' SATA HD  |
The SUNDRIVER 2.5' SATA HD retail version  he SunDriver SATA version retail packing 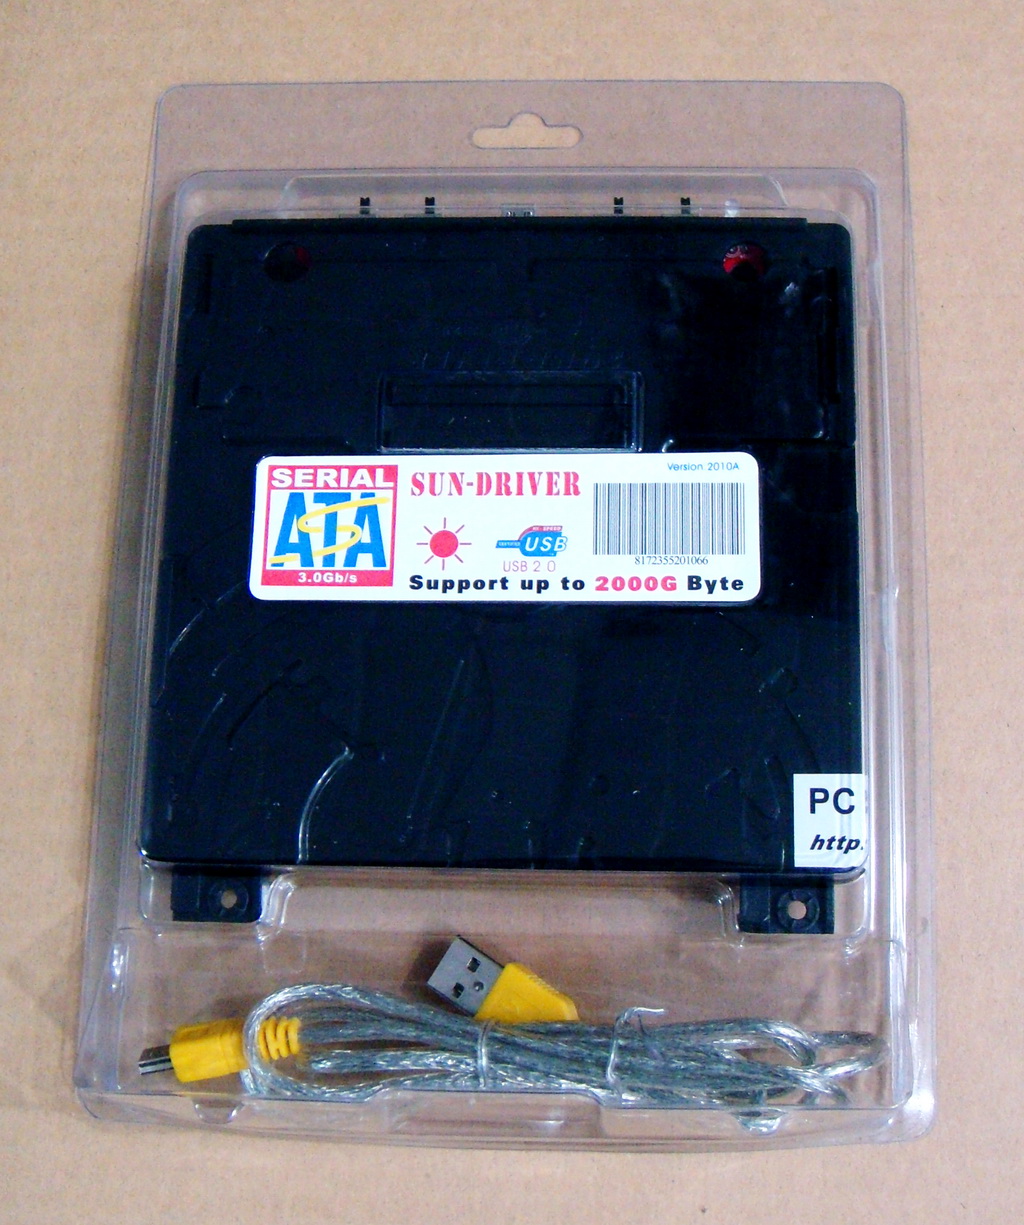 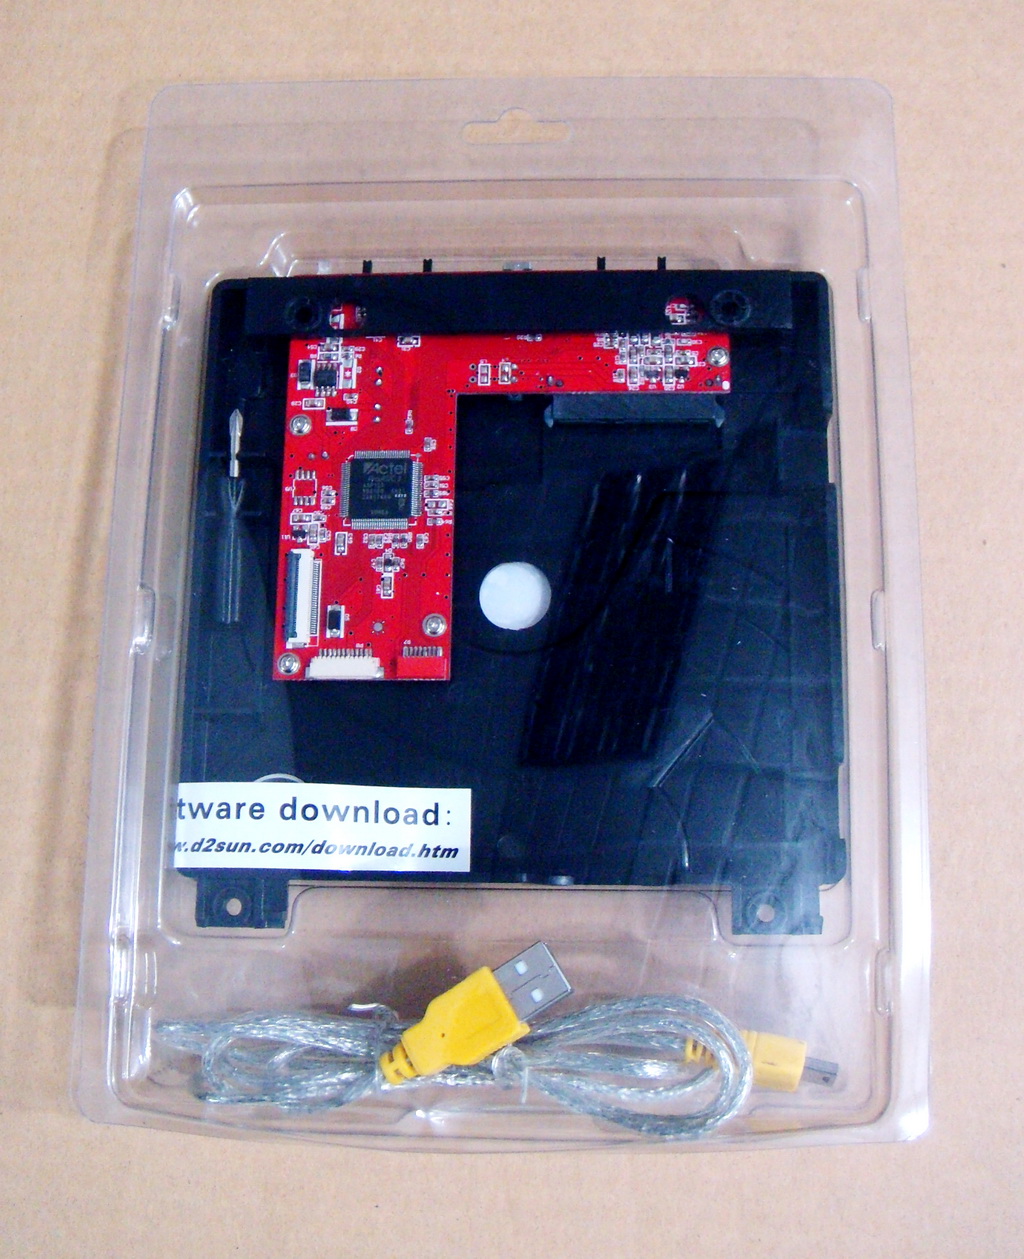 The dealer can bundle the 2.5' SATA HD to sell together 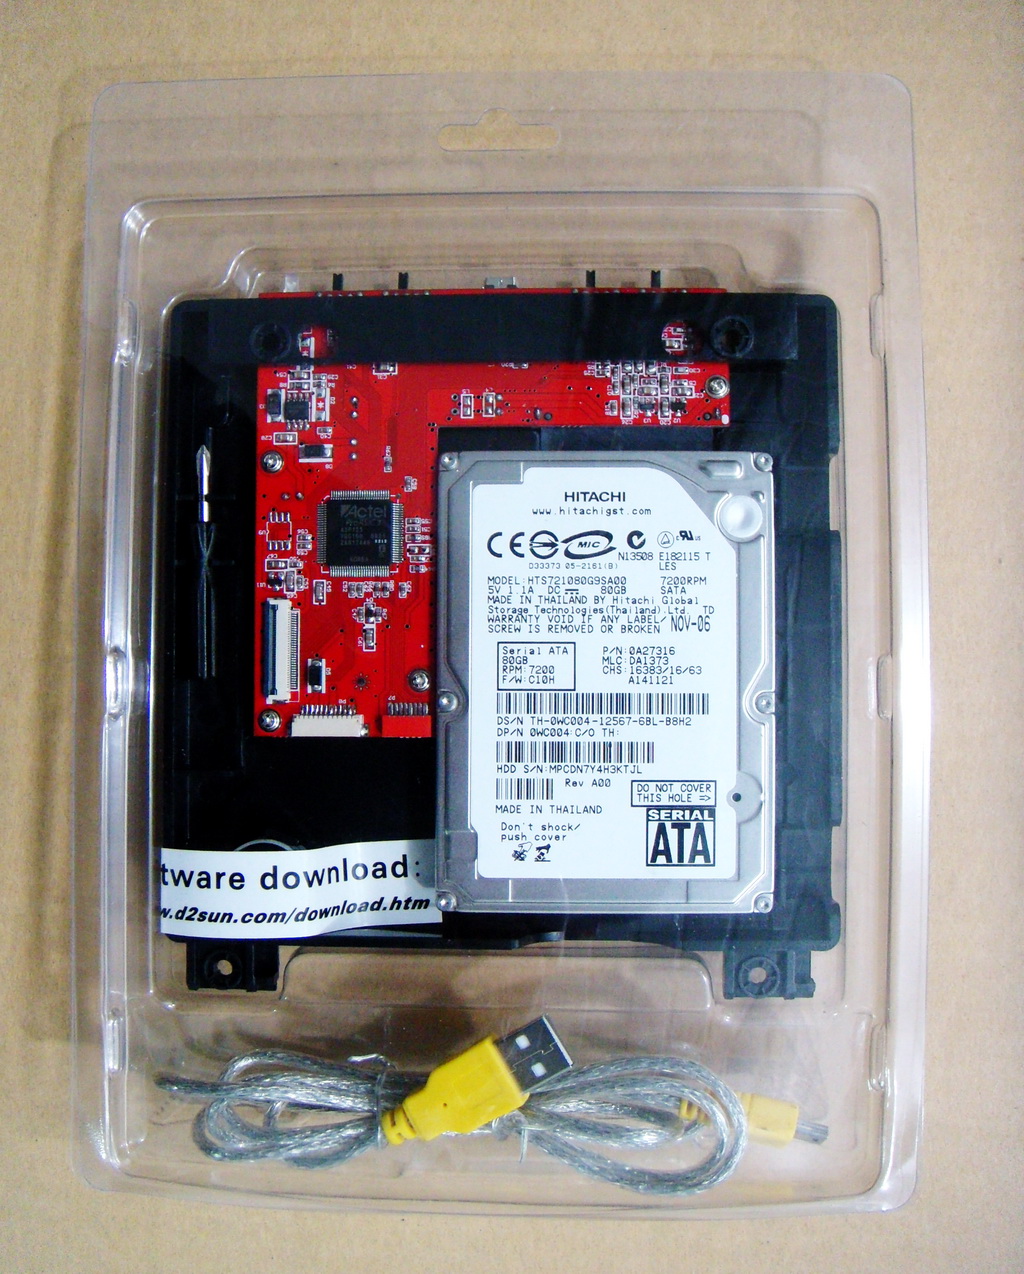 If you want it work with 3.5' SATA HD, then must use this SATA cable to link 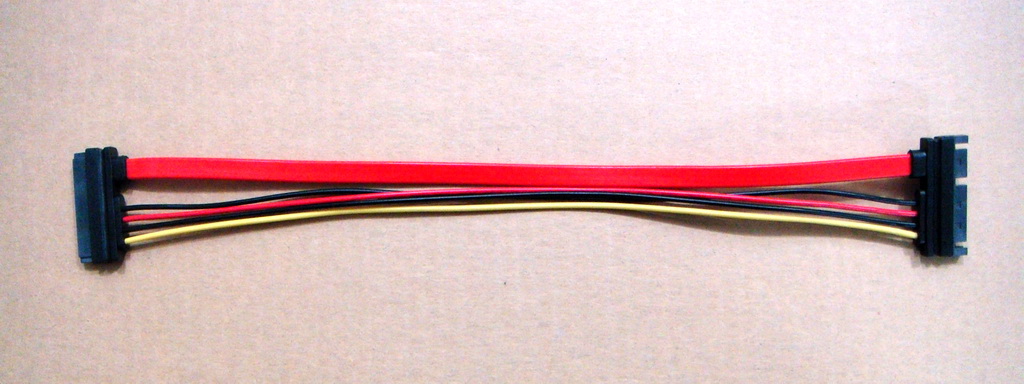 Plug and Play, make your 2000GB 3.5' SATA HD workable is so easy! 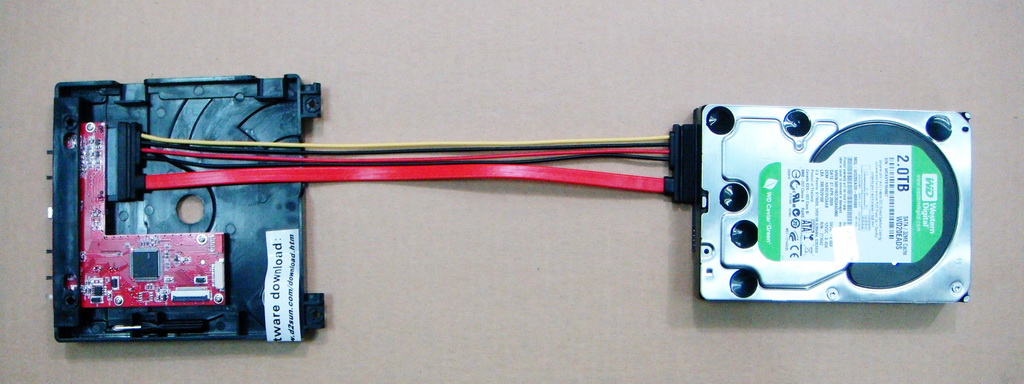 |
| More details |
The SunDriver logo 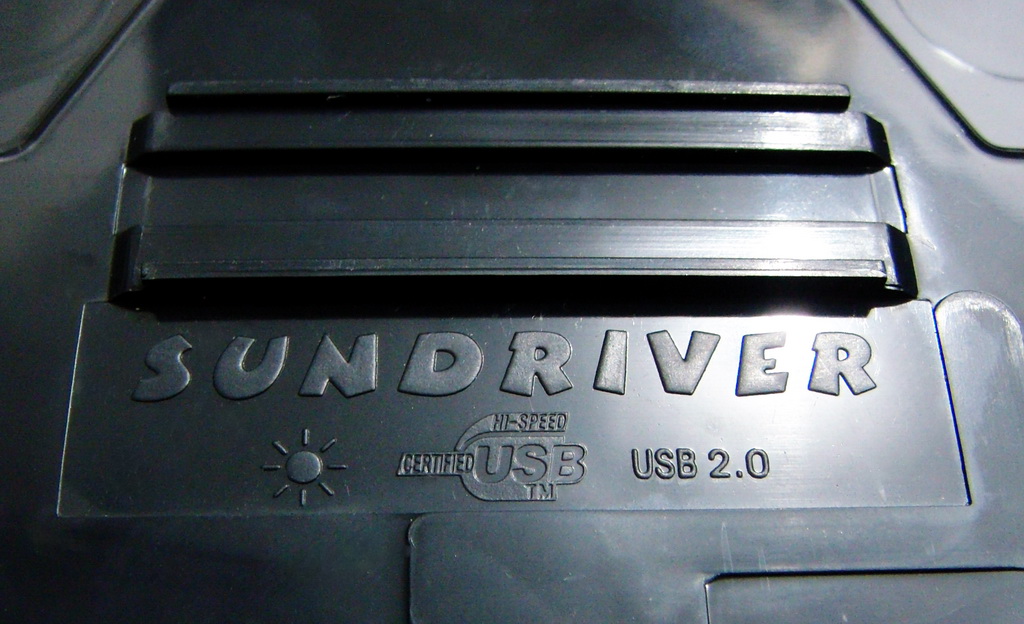 After install complete, it can put the 2.5' HD to Wii console perfectly 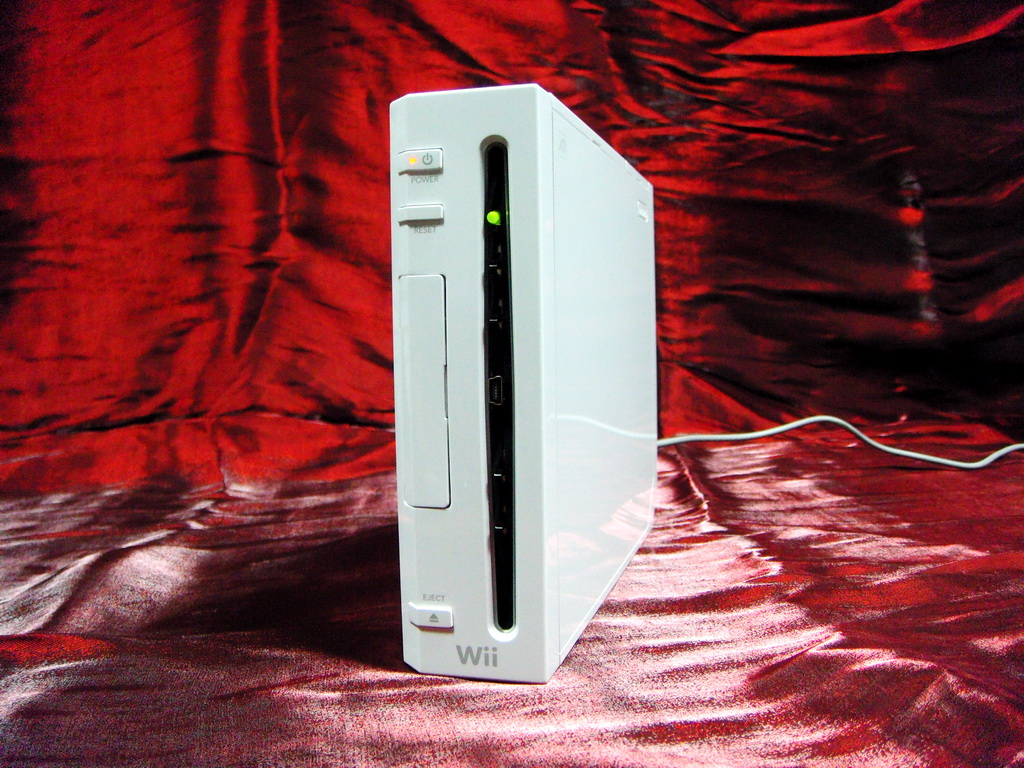 And use USB 2.0 to translate data, upload one game just need 3:30~5:00 minutes 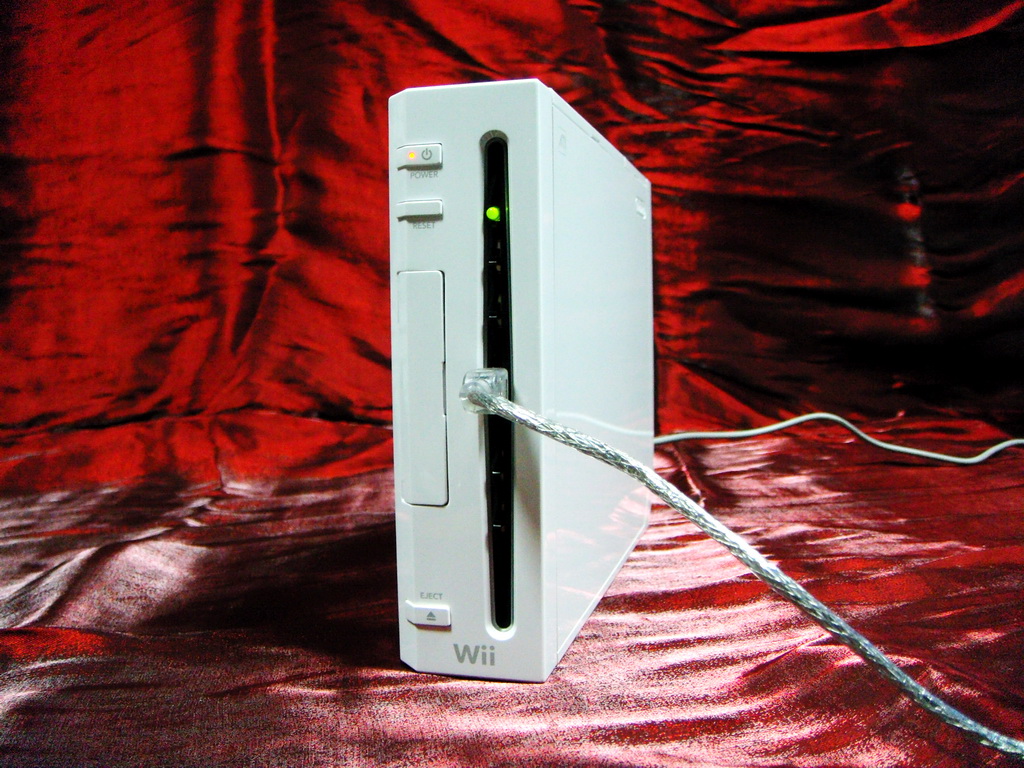 It use 3 ways to select the game: 1. Use on board 4 switch to select the game 2. Use PC APP to select the game 3. Use the Wii console RESET and EJECT button to select the game (new function), or use NGC joypad If use external 3.5' SATA HD, can support up to 2000GB, can store up to 424 ISOs at once! 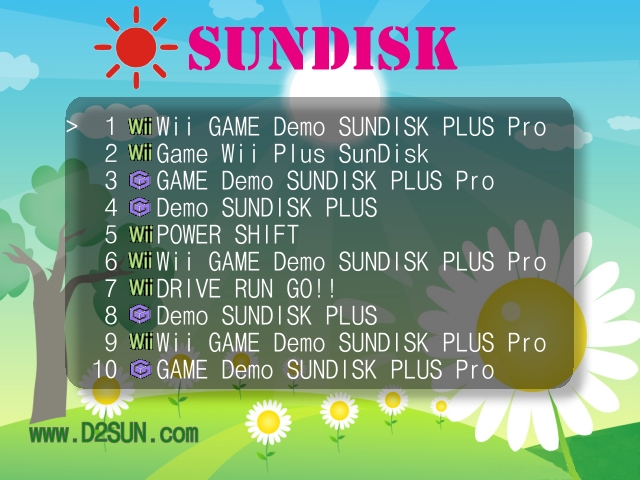 |
How to install the SUNDRIVER series? |
|
|
Step #1: Put the 2.5' HD to
SunDriver, and use screws to fixate the HD ( for some 2.5' HD, just
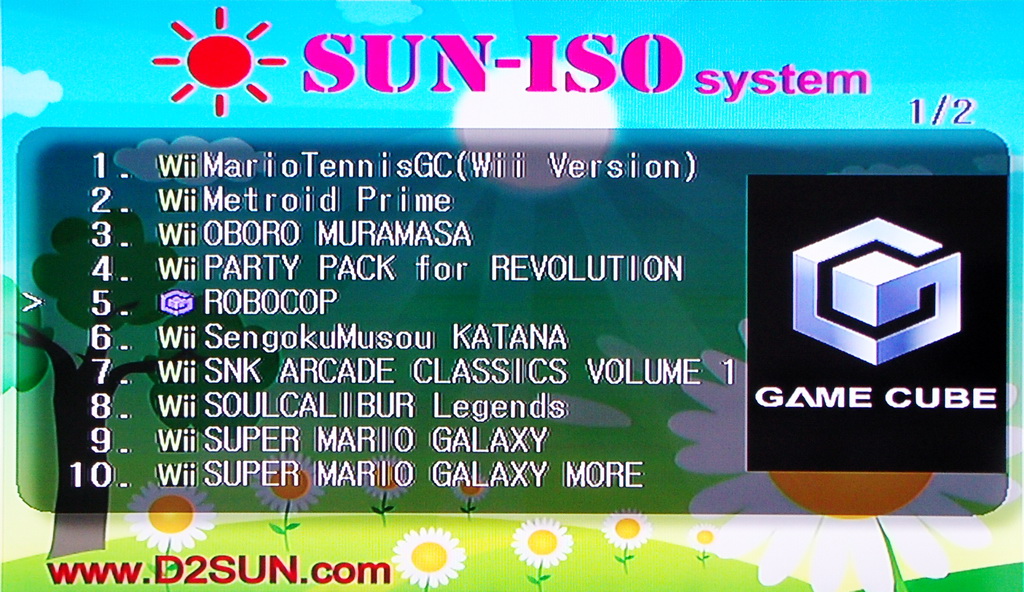
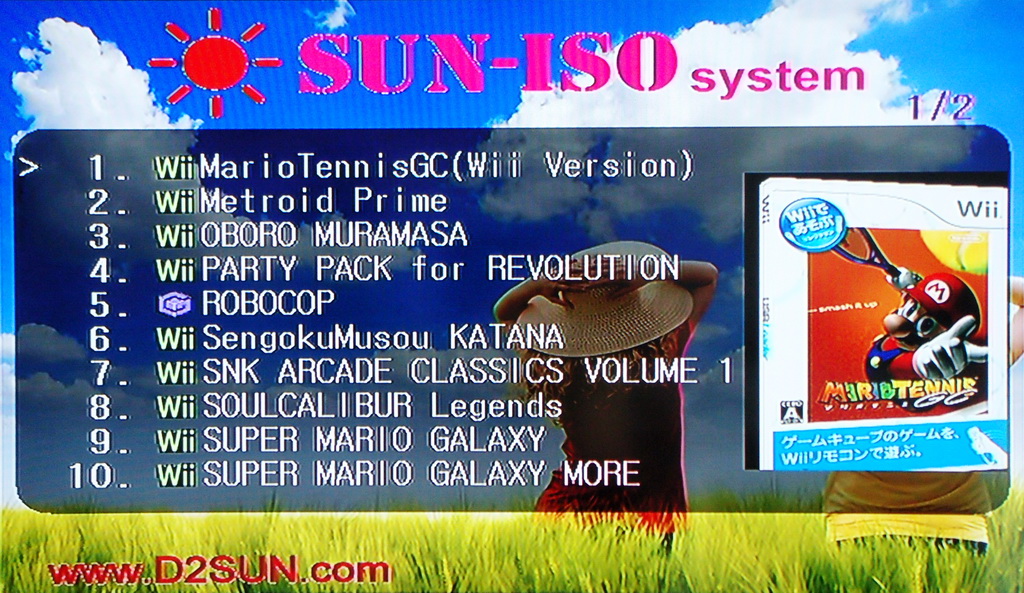
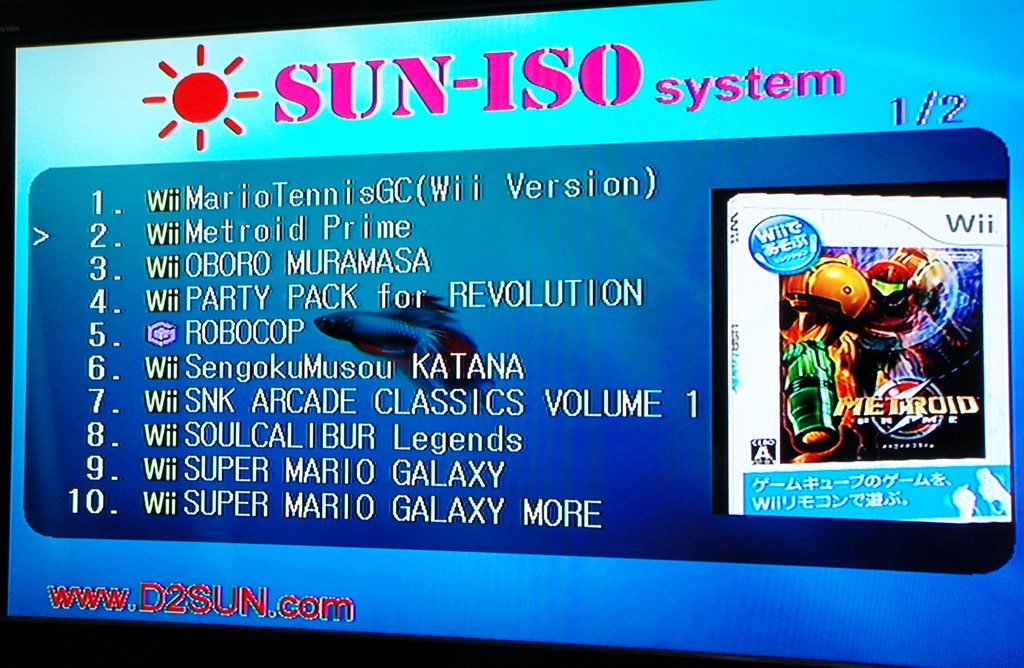
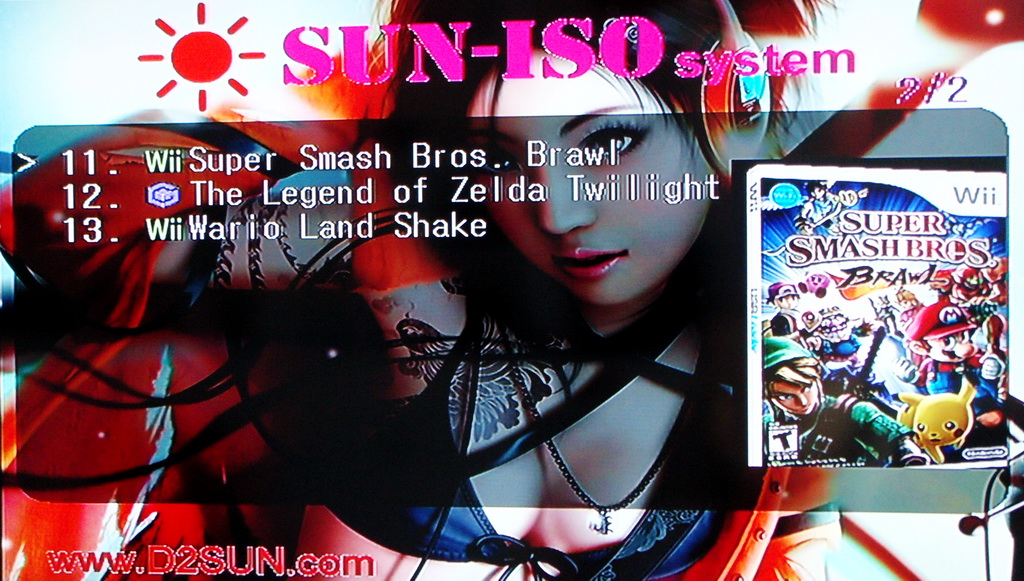
can use 1 screw because the dimension difference ); SunDriver come with one free screw tool for install/remove the HD screw; 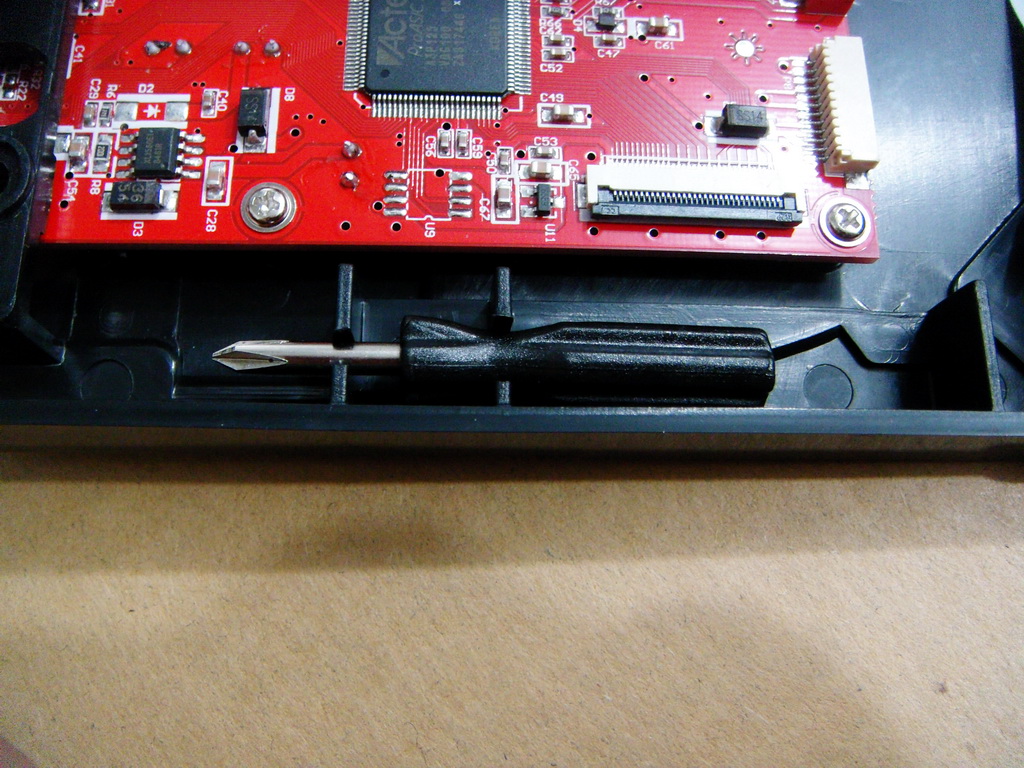 Open the label, you can see 2 HD screws and one upgrade FPC in there; 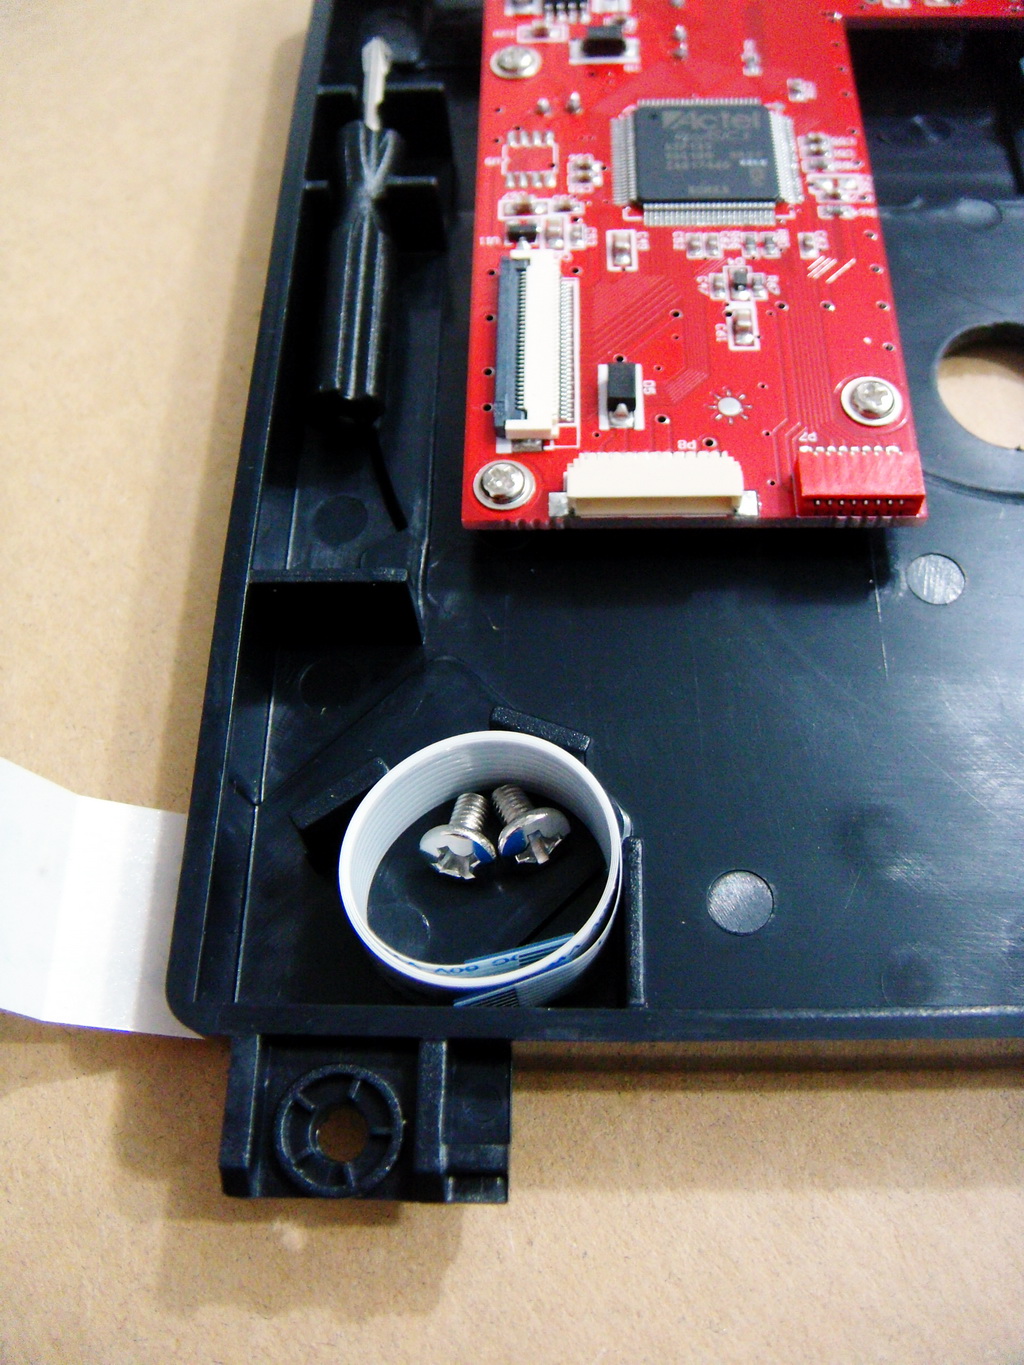 Step #2: Insert the right FPC to the FPC socket, and install these 4 pcs Wii driver screws ; 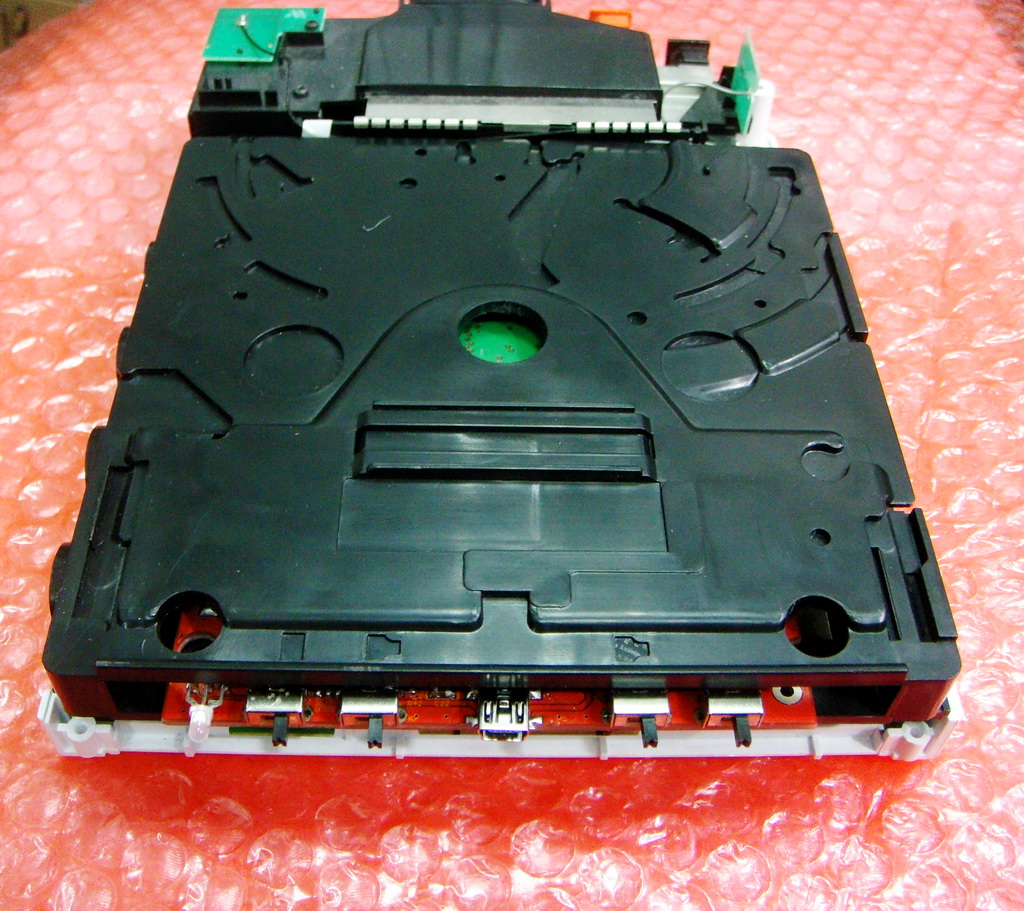 Step #3: Install the Wii cover;  Step #4: Install the Wii face cover; 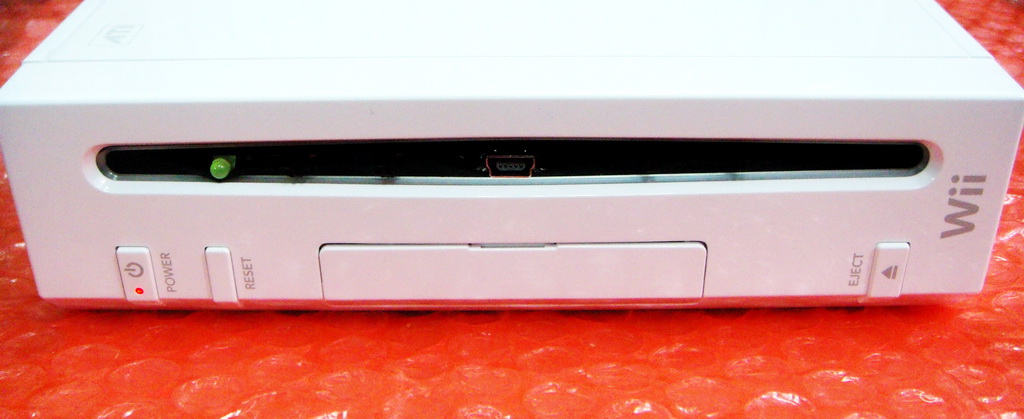 need to notice here, you must let whole USB port come out complete, don't let the black flannel cover USB port. 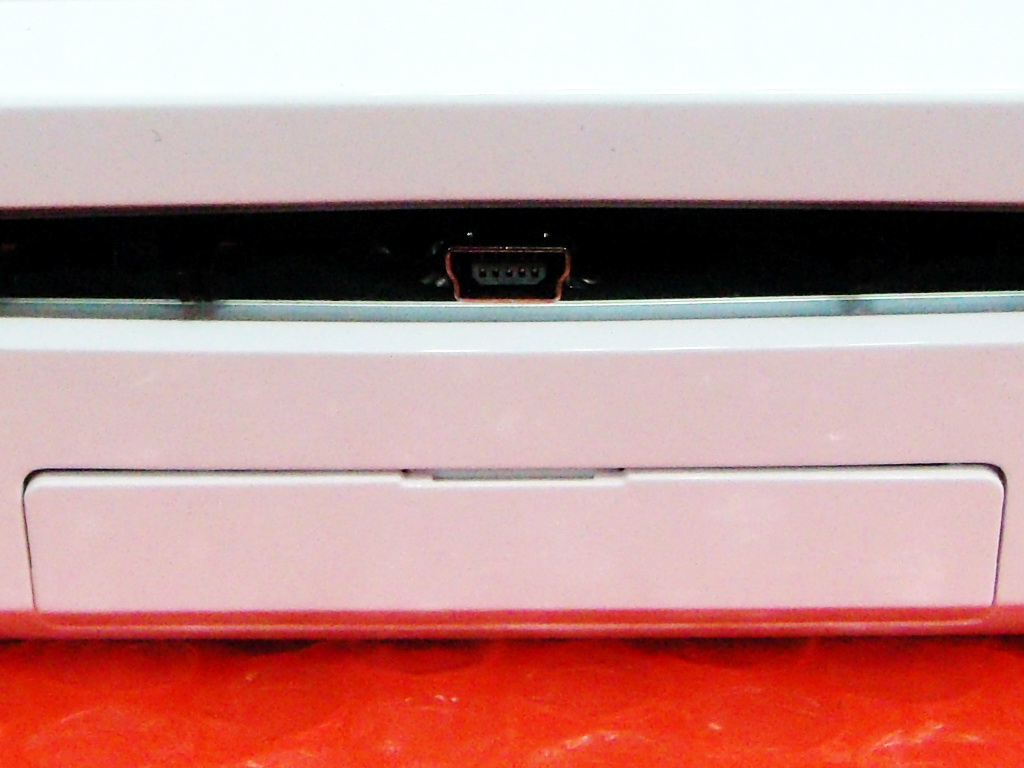 Step #5: Insert the USB cable, link it with you PC USB port, you can see the GREEN LED will become light, it mean SunDriver have enter the USB mode already; 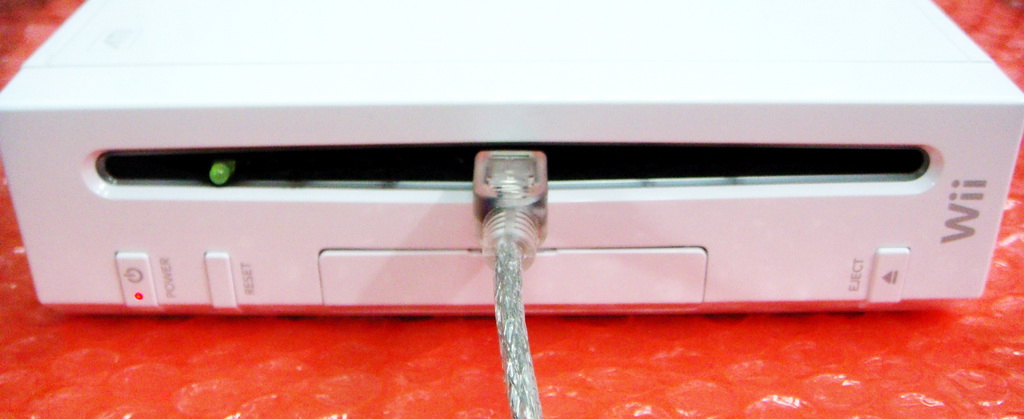 Step #6: Run the SunDisk PC APP, selct the ISO and upload to SunDriver, then start to enjoy it after the uploading complete! 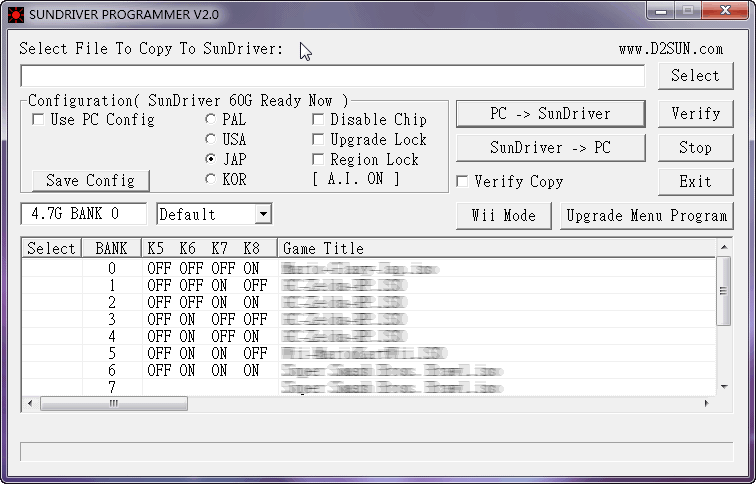 BTW: If you want to use the SunDriver menu to select the game on your TV, then you need download the SunDriver menu ISO and click the "Upgrade Menu Program" to upgrade your SunDriver menu. How to use the Wii console RESET and EJECT button to select the game: * Press the RESET button for a short time in the menu, can move the cursor jump to next game; * Press the RESET button for a long time in the menu, can move the menu to next page (if have); * Press the EJECT button ,then start to run this ISO! How to use the NGC joypad to select the game: * Press the UP / DOWN button for jump to the previous / next game; * Press the LEFT / RIGHT button for jump to the previous / next page; * Press the B button for sort the game list in the order sorting mode or title sorting mode; * Press the A button for start run the selected ISO! |
|
|
Powered by D2SUN Team 2010~2016 |
|